Install
Install Udon on macOS 26 or 27, finish setup in the Welcome window, update it, and uninstall while keeping your data.
Run this in the Terminal app on the Mac you want to use as a server, from your normal account
(not with sudo):
curl -fsSL https://udon.sh/install | bashThe installer checks the Mac first: Apple Silicon, macOS 26 or later, a signed-in desktop
session, and an administrator account, because Udon installs into /Applications. Sign in to
the desktop with that account even when you run the command over SSH. Use one owning macOS
account per Mac. Other people can use dashboard accounts without installing
another copy.
If the Mac has no container engine or no Homebrew, the installer asks one question, whether to
install them, and then installs only what is missing: Apple's
container and Homebrew. Both installs
need your administrator password. If OrbStack is already installed, Udon uses that. You can say no
and add either later from the Welcome window.
The installer then downloads the latest Stable release, verifies it, and installs
/Applications/Udon.app, which holds the daemon, the menu bar app, the helper, and the
dashboard. It registers the daemon and menu bar app to start when you log in, waits until both
answer, and prints the dashboard address.
Reinstalling keeps your accounts, data, configured listen address, port, and TLS certificate. Configure both certificate and private-key paths together when using your own certificate.
First run
When the menu bar app starts with setup left to do, it opens the Welcome to Udon window, which stays above other windows until you close it. Its Permissions group holds three steps. Each step's button is an icon; hover it to see its name.
Add the udond command
Click Add and approve one administrator prompt. It creates /usr/local/bin/udond, so udond
works in Terminal.
Allow Full Disk Access
Click Open System Settings to reach System Settings → Privacy & Security → Full Disk Access. Turn on the Udon switch; it covers the daemon and the menu bar app. If macOS asks, choose Quit & Reopen.
Allow admin privileges
Click Allow and approve the administrator prompt to install Udon's helper. Add and Allow share one prompt, so whichever you click first also does the other if it still needs doing.
The Dependencies group installs Apple Container (Containers) and Homebrew (Package Manager) when they are missing; OrbStack counts as a container engine too. See the Welcome window for what each button does.
If you cancel a prompt or close the window, Udon stays installed. Finish setup in the menu bar panel reopens the window until every step is done. See Startup troubleshooting if a component fails to start.
The dashboard is at the address the installer printed, such as https://your-mac.local:4443.
Udon's default certificate is self-signed, so your browser asks you to trust it. Create the first
dashboard account; it becomes the administrator. See Sign in & accounts.
The dashboard wizard covers language, permissions, container engine, appearance, the assistant, error reporting, and your license. Until Udon's helper is installed, or while macOS refuses Full Disk Access, the dashboard shows a permission screen in place of its pages. To check both grants later, open Settings → Health and click the circular-arrow button (Recheck) on the System Permissions card.
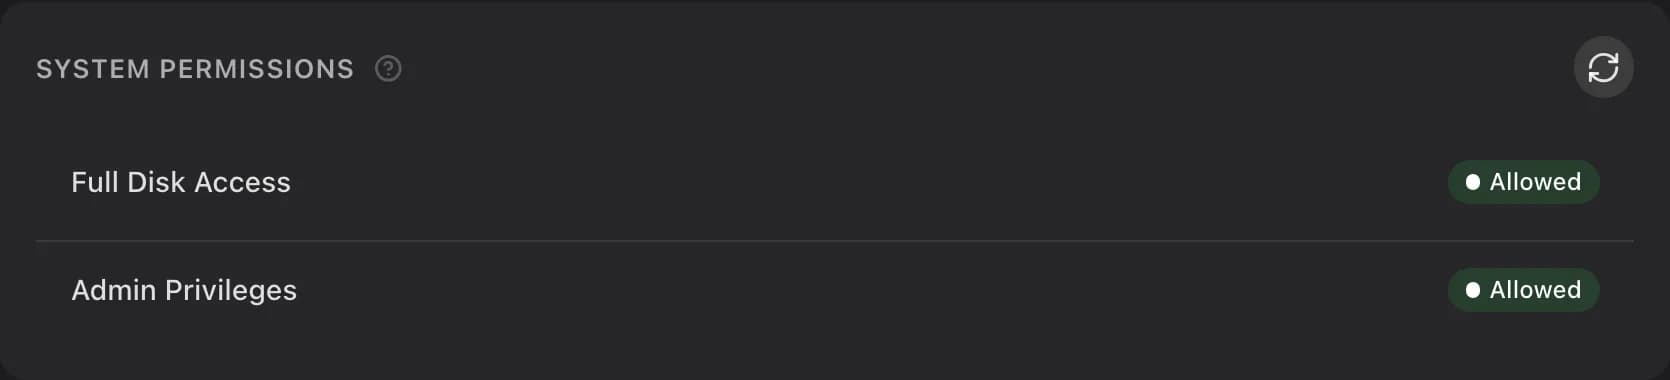
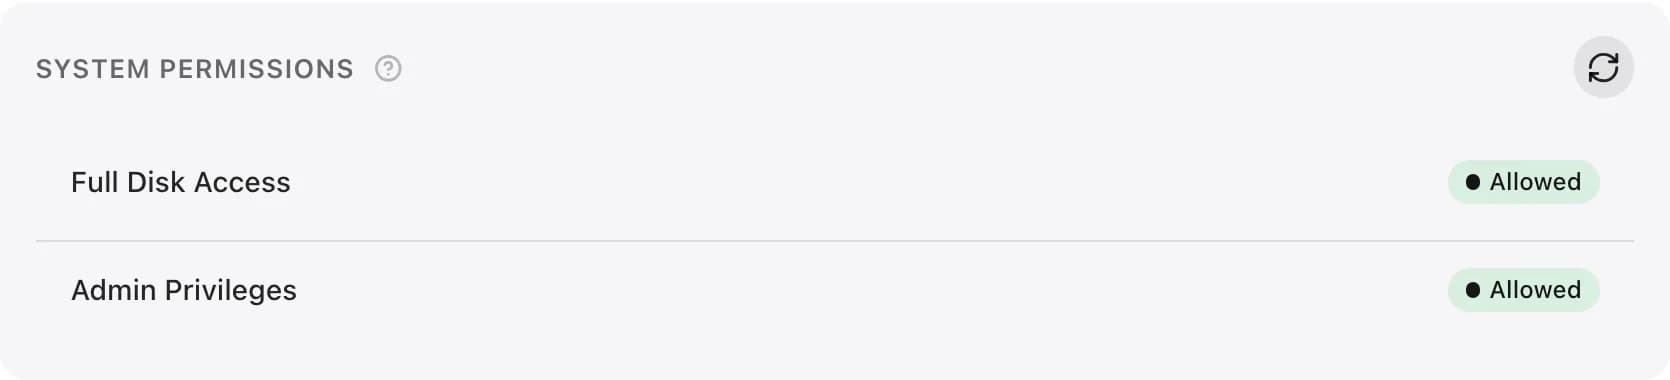
If Full Disk Access is on but the dashboard stays blocked, follow Verify Full Disk Access.
Updating
Udon checks at startup, about once an hour, and after it wakes or reconnects when a check is due. When a release is available, an update button appears in the dashboard toolbar. Nothing installs until an admin chooses Install in its release notes or Update in Settings → License → About. Udon follows the operation through restart and readiness before reconnecting the dashboard. If the new build fails, recovery restores the previous app and database. The update status shows whether recovery succeeded and keeps the recovery files if it needs attention. Your container workloads stay with their engine throughout. See Licensing & updates and Update recovery.


Uninstalling
All three ways keep Homebrew, the container engine, and your containers, volumes, and images.
-
Menu bar app: open the Udon panel, expand More, and click Uninstall Udon. Uninstall keeps your config, license, and database for a later reinstall; Uninstall and Remove Data deletes them too. See the menu bar app.
-
Terminal:
udond uninstallasks the same questions and works over SSH.--purgeremoves your data,--keep-datakeeps it without asking, and--yesskips the confirmation. -
Script, for when the menu bar app and
udondare already gone:curl -fsSL https://udon.sh/uninstall | bash # remove Udon, keep your data curl -fsSL https://udon.sh/uninstall | bash -s -- --purge # remove Udon and your dataWithout
--purgeit keeps your accounts, settings, database, and TLS keys;--purgedeletes the whole state folder.
A running update must finish or recover before you uninstall. If Udon cannot stop its service, it keeps the program files and reports the failure. Another account's helper stays in place. Use Uninstall and reinstall troubleshooting if removal stops partway through or you need to restore a paid license after reinstalling.
Remote access
Don't forward a port to Udon. To reach it from elsewhere, use Tailscale: Udon can serve the dashboard over your tailnet with a trusted certificate and route the container network so you reach containers at their own IPs. See Network & remote access.
File locations
/Applications/Udon.app holds the program. Your data stays in
~/Library/Application Support/sh.udon, a folder only your account can read, and Udon won't
start if it can't keep it that way.
- Config:
~/Library/Application Support/sh.udon/config.toml - Database:
~/Library/Application Support/sh.udon/udon.sqlite - TLS keys:
~/Library/Application Support/sh.udon/tls/ - Log:
~/Library/Application Support/sh.udon/udond.log - Default port: 4443